Integrations
AI School offers MCP support that allows you to integrate the application with external tools and services. These integrations enhance functionality and enable AI School to seamlessly collaborate with other applications.
Model Context Protocol (MCP)
The Model Context Protocol (MCP) is an open standard that provides AI assistants access to external tools and data systems. By setting up MCP integrations, the AI assistant can interact with various external services such as Google Calendar, file systems, and databases.
There are different ways to create an MCP server:
- Online applications like Zapier and N8N
- Programmed MCP Servers that establish connections with external systems offering an API integration.
The first option is very low-threshold and can be integrated without costs. However, not all systems offer connections via Zapier or N8N. Custom applications and commonly used student tracking systems are unfortunately not in Zapier or N8N, and therefore a programmed MCP Server is necessary. MCP Servers are generally applicable and not specific to AI-School. They can also be integrated within, for example, ChatGPT, Claude, or Visual Studio Code.
We will now discuss how to build and connect a Zapier MCP Server with AI-School.
Creating an MCP Server via Zapier
Zapier offers a simple way to create MCP servers without programming knowledge. With Zapier's MCP platform, you can quickly create integrations with thousands of different apps and services.
Step 1: Sign Up for Zapier MCP
- Go to https://mcp.zapier.com
- Log in with your Zapier account (or create a new account)
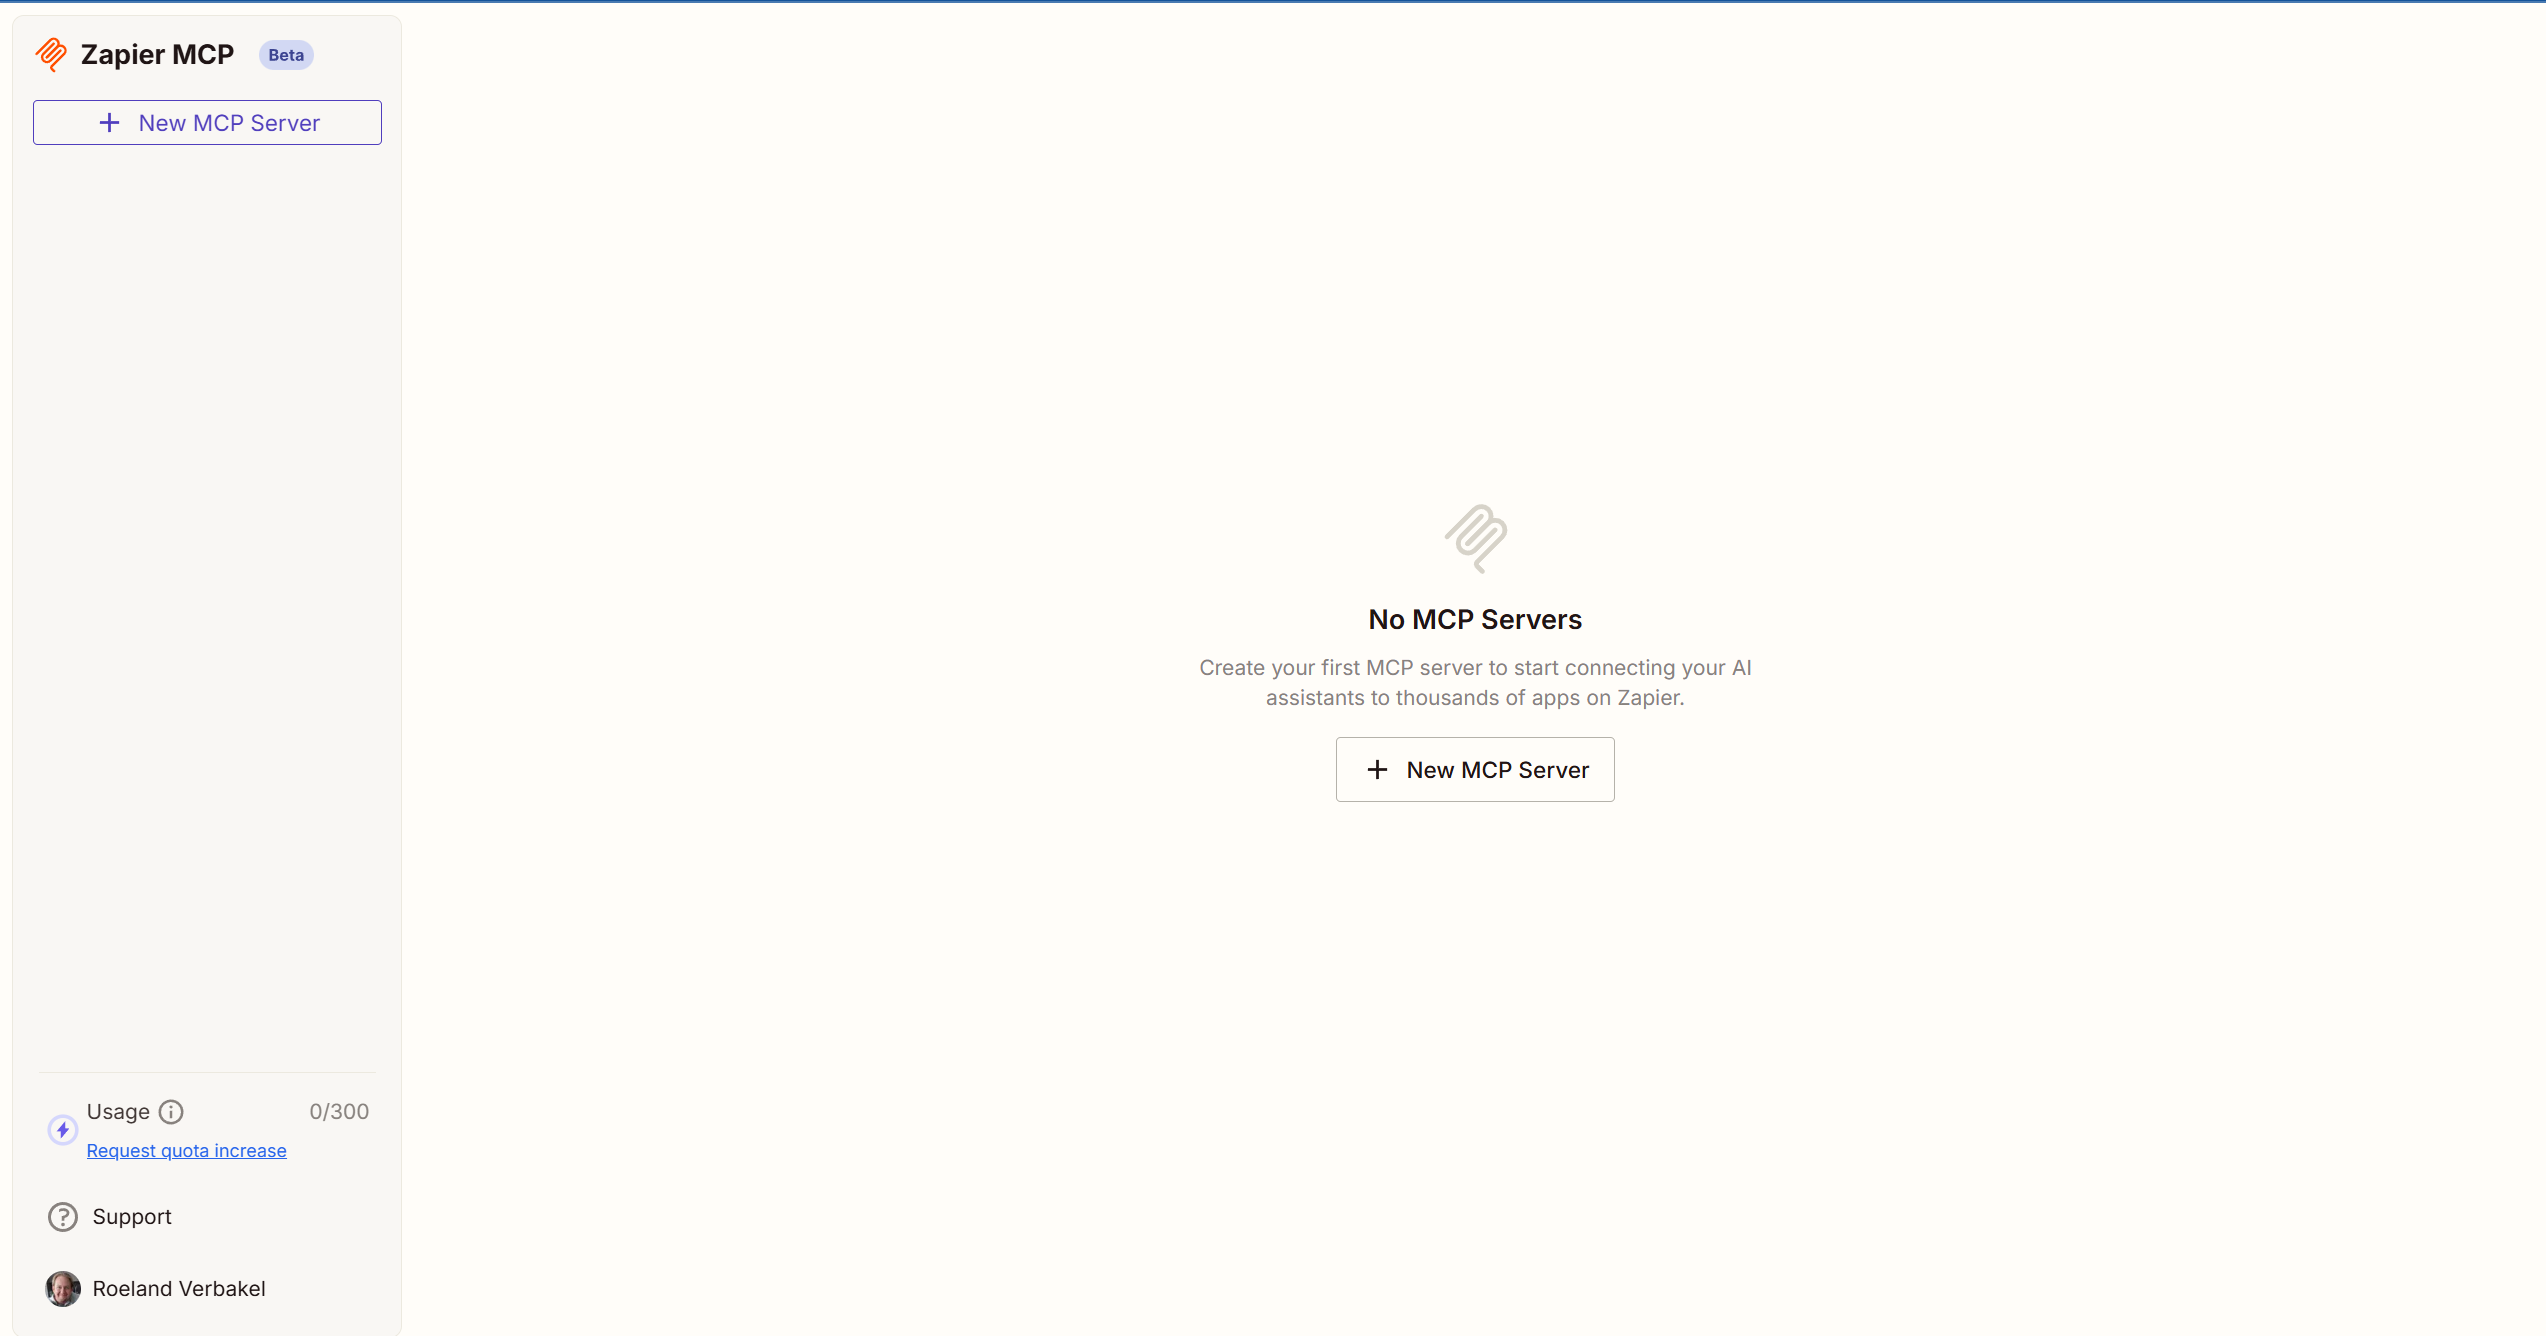
- You will be redirected to the MCP dashboard
Step 2: Create a New MCP Server
-
Click the "New MCP Server" button in the dashboard
-
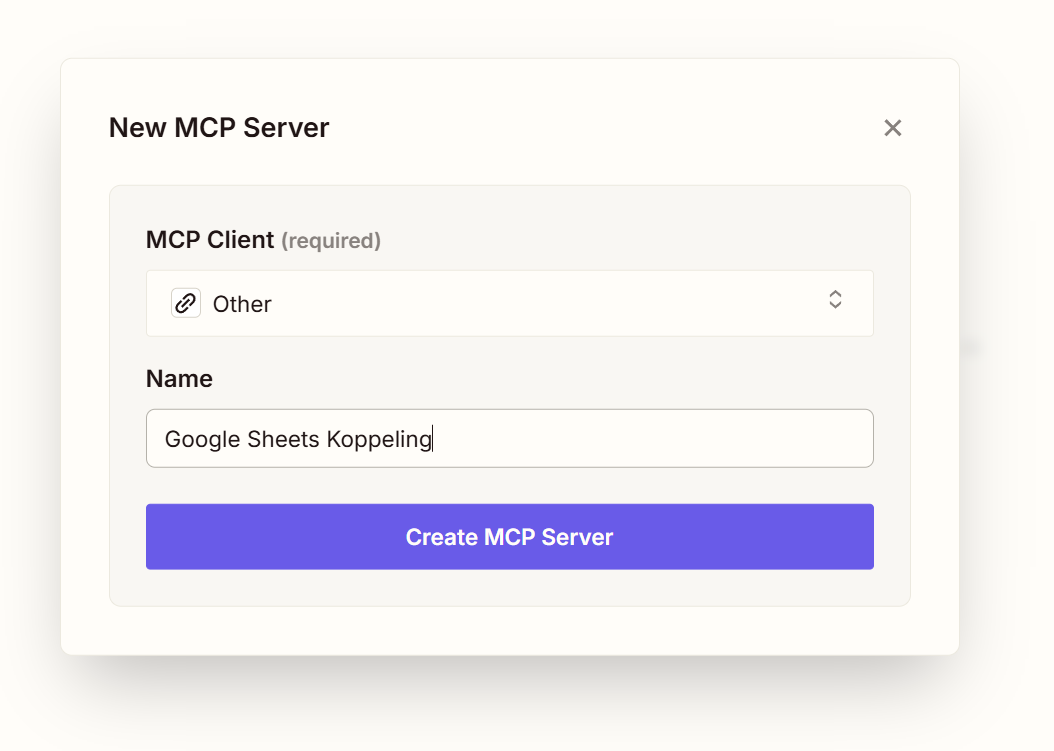
You will see a form to configure your MCP server
-
Set the client to "Other"
-
Give the MCP Server a name, for example "Google Sheets Integration"
-
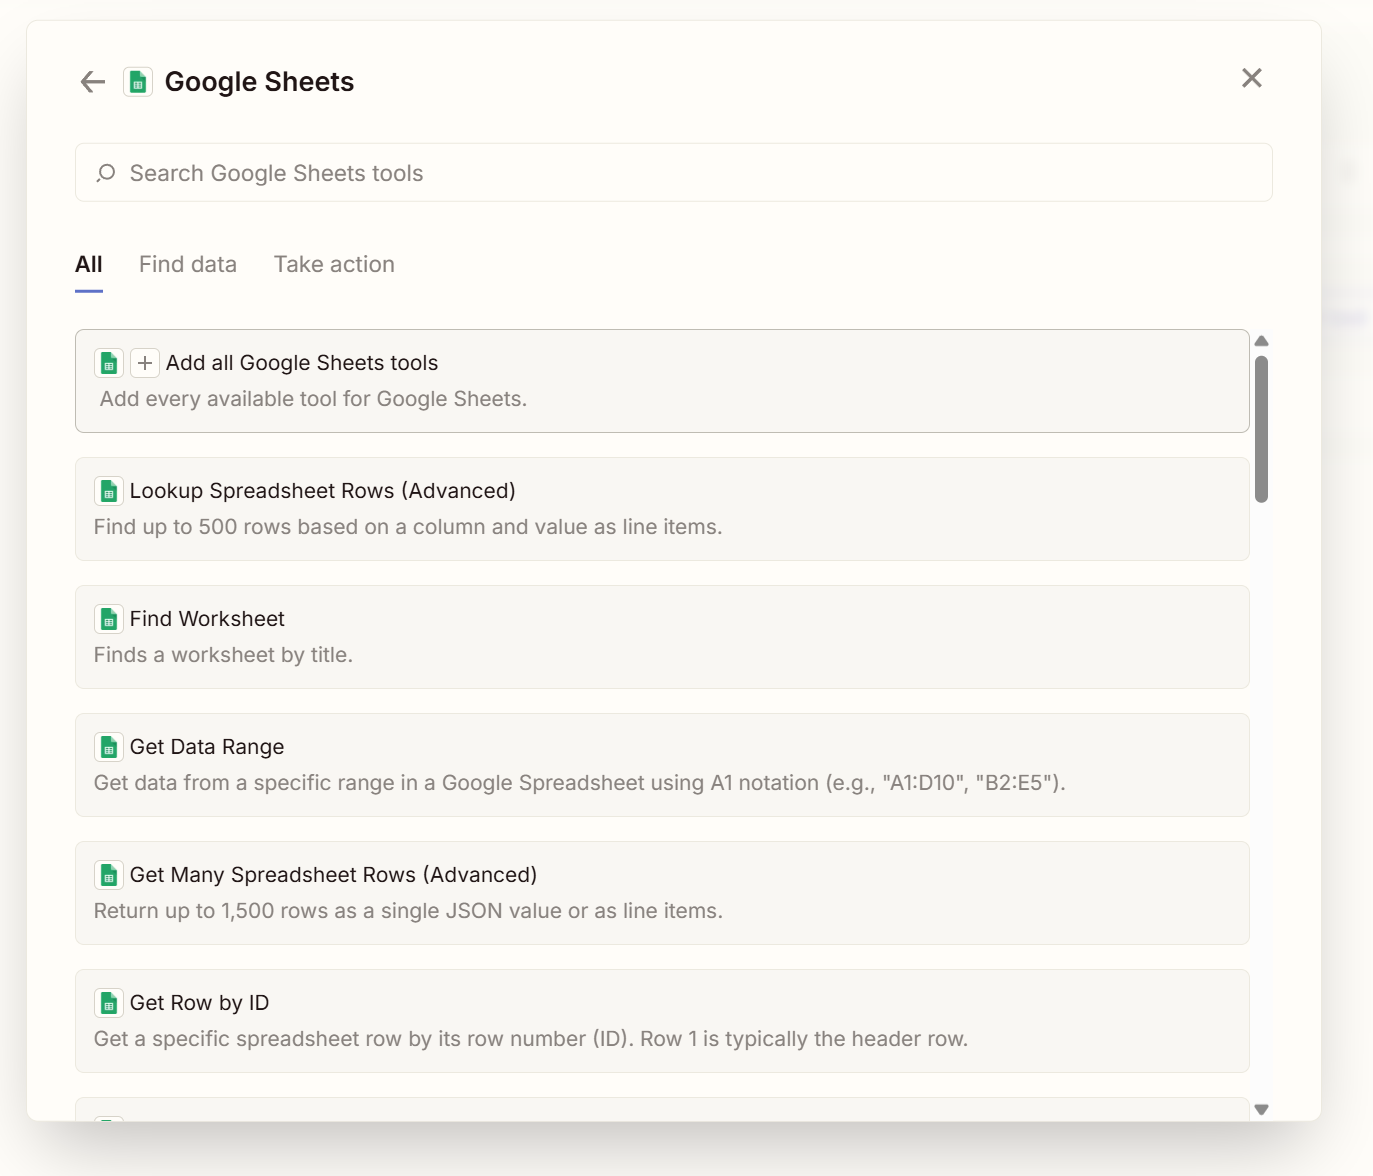
Click on "Add Tools"
-
Choose which integration you want to add, for example "Google Sheets"

-
Then choose which tools you want to use
-
Pay attention to the "Take action" tools. These can also write data to your connections!
-
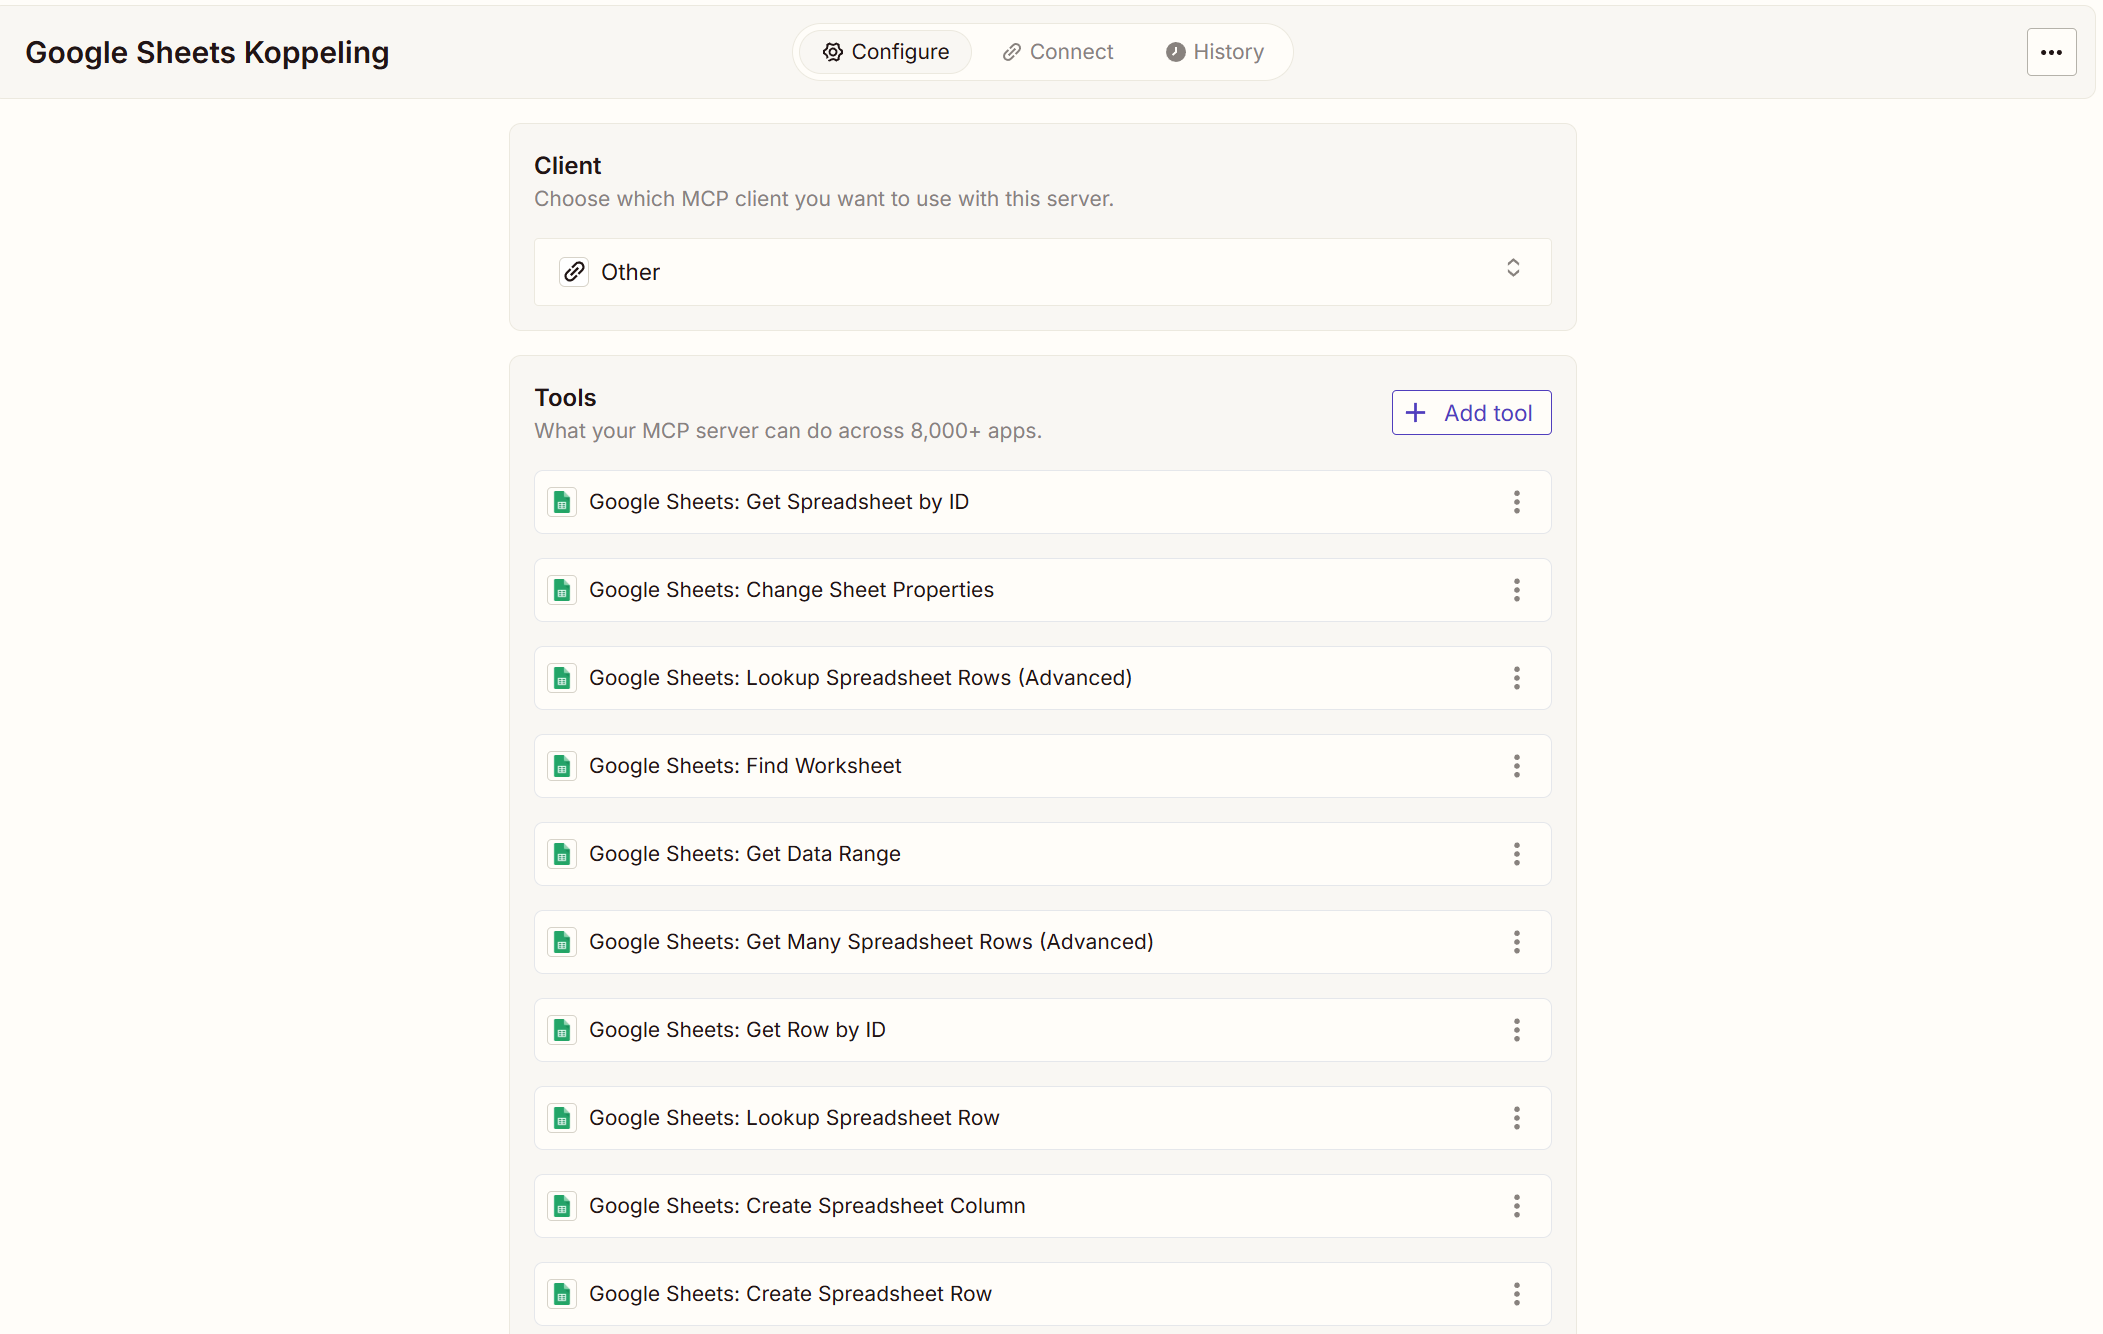
Connect to the chosen integration
-
The tools are now configured, we will proceed to the connection. Click Connect.
Step 3: Connect New MCP Server
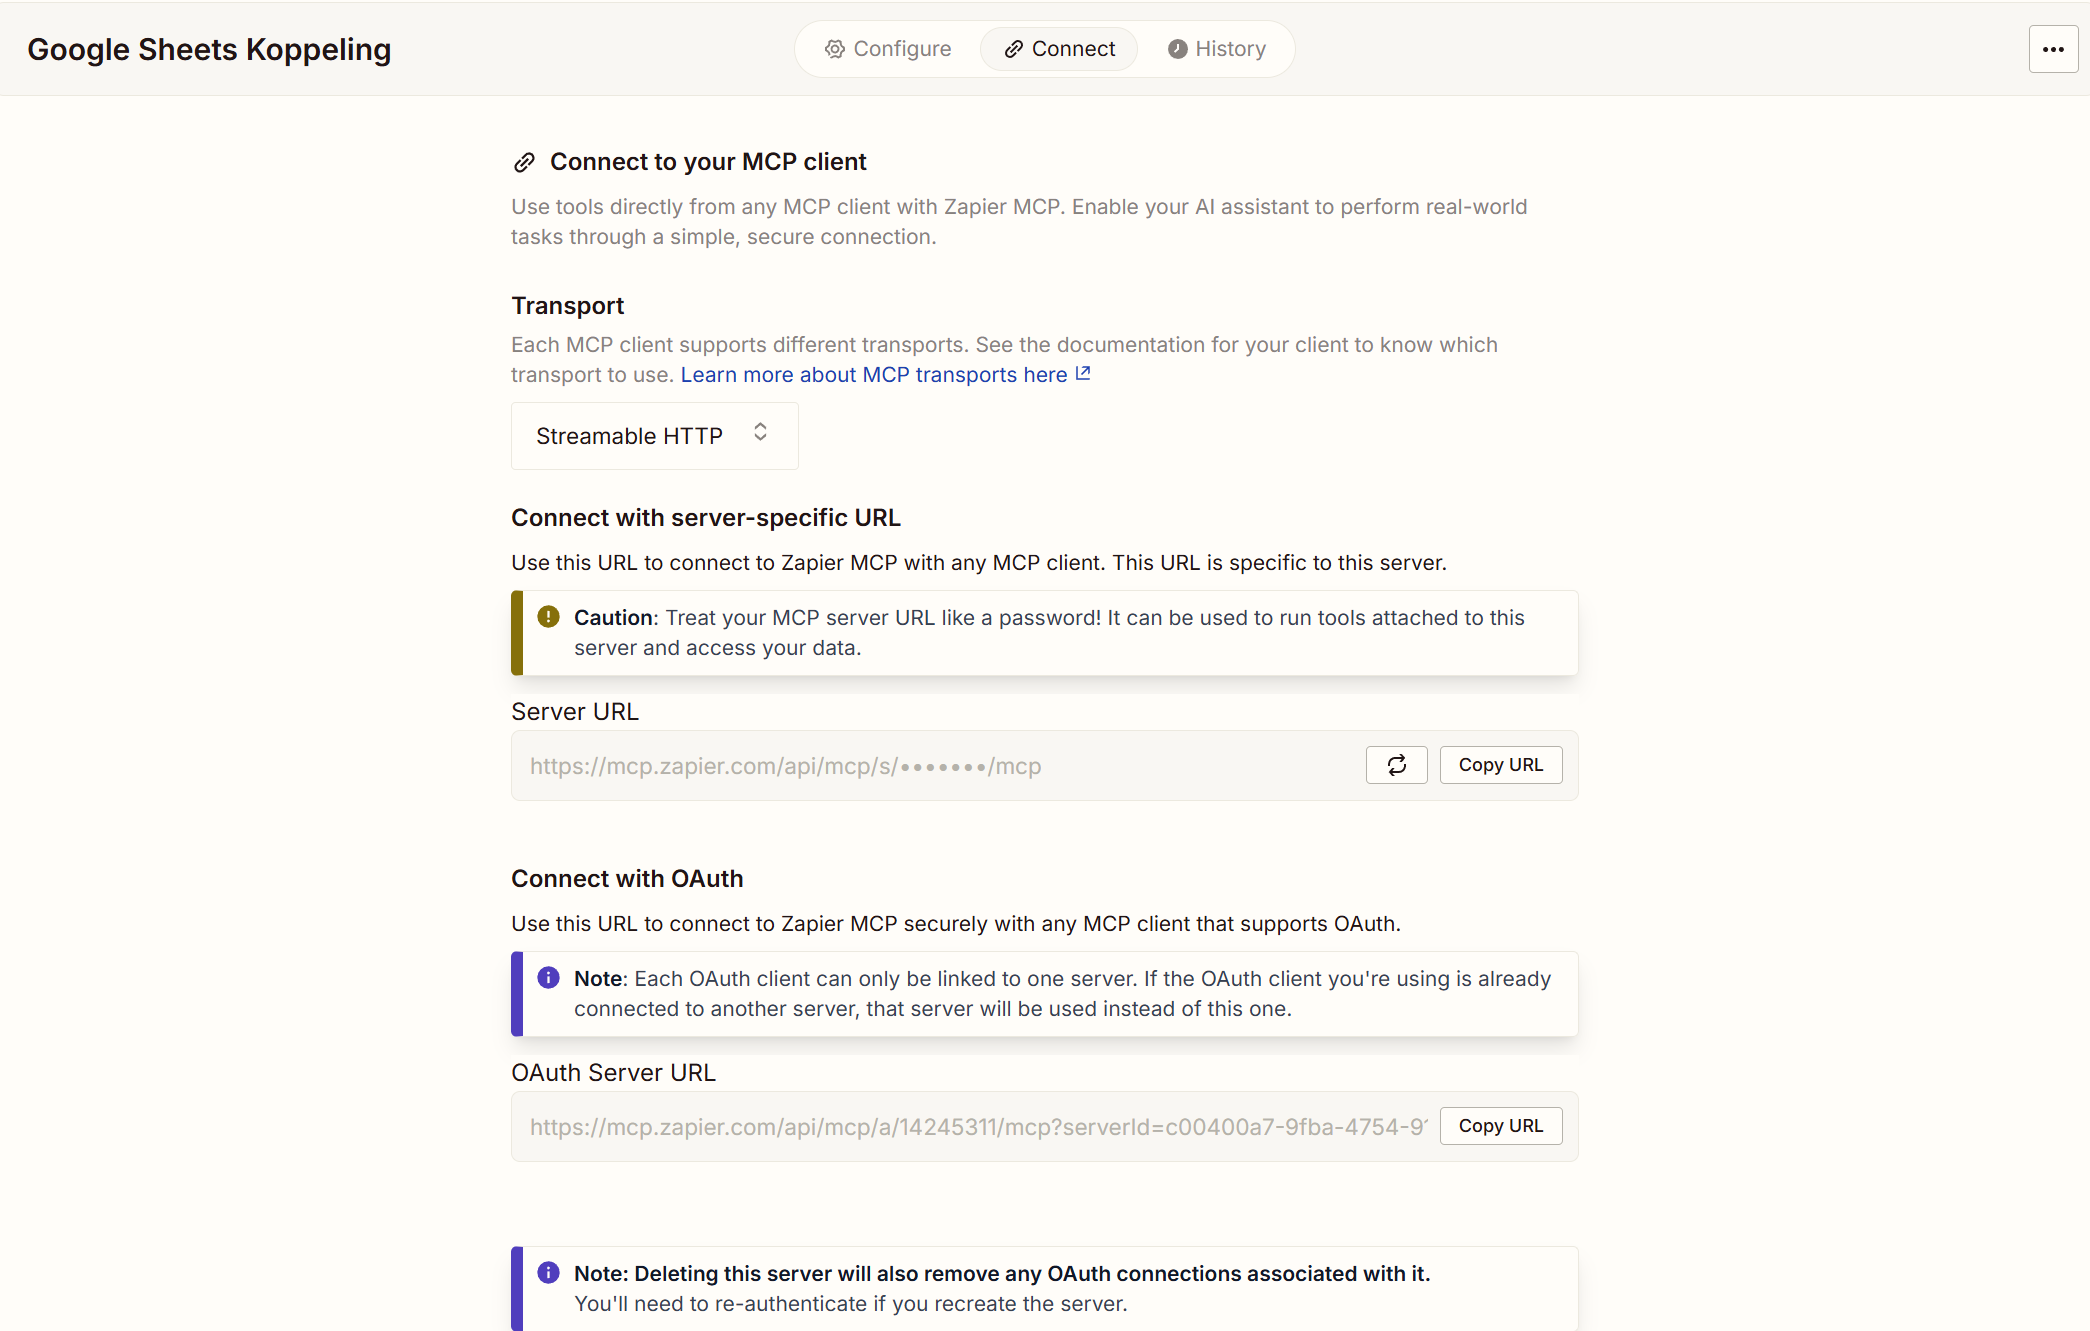
On the "Connect" tab, you will see the available connections:
- Server-Specific URL
- OAuth Server URL
The difference between these two URLs lies in the protection of this connection. The Server-Specific URL provides direct access to the tools you have set up. This also means that if this URL falls into the wrong hands, the tools are available. The tools provide access to functions in external systems. This is a security risk. The Server-Specific URL must therefore be treated confidentially, just as you would treat a password. However, with "rotate secret" you can create a new URL each time.
The OAuth Server URL offers the same functionality but requires logging in to use the MCP Server.
AI-School supports integrating both the Server-Specific URL and the OAuth Server URL.
Step 4a. Server-Specific URL
-
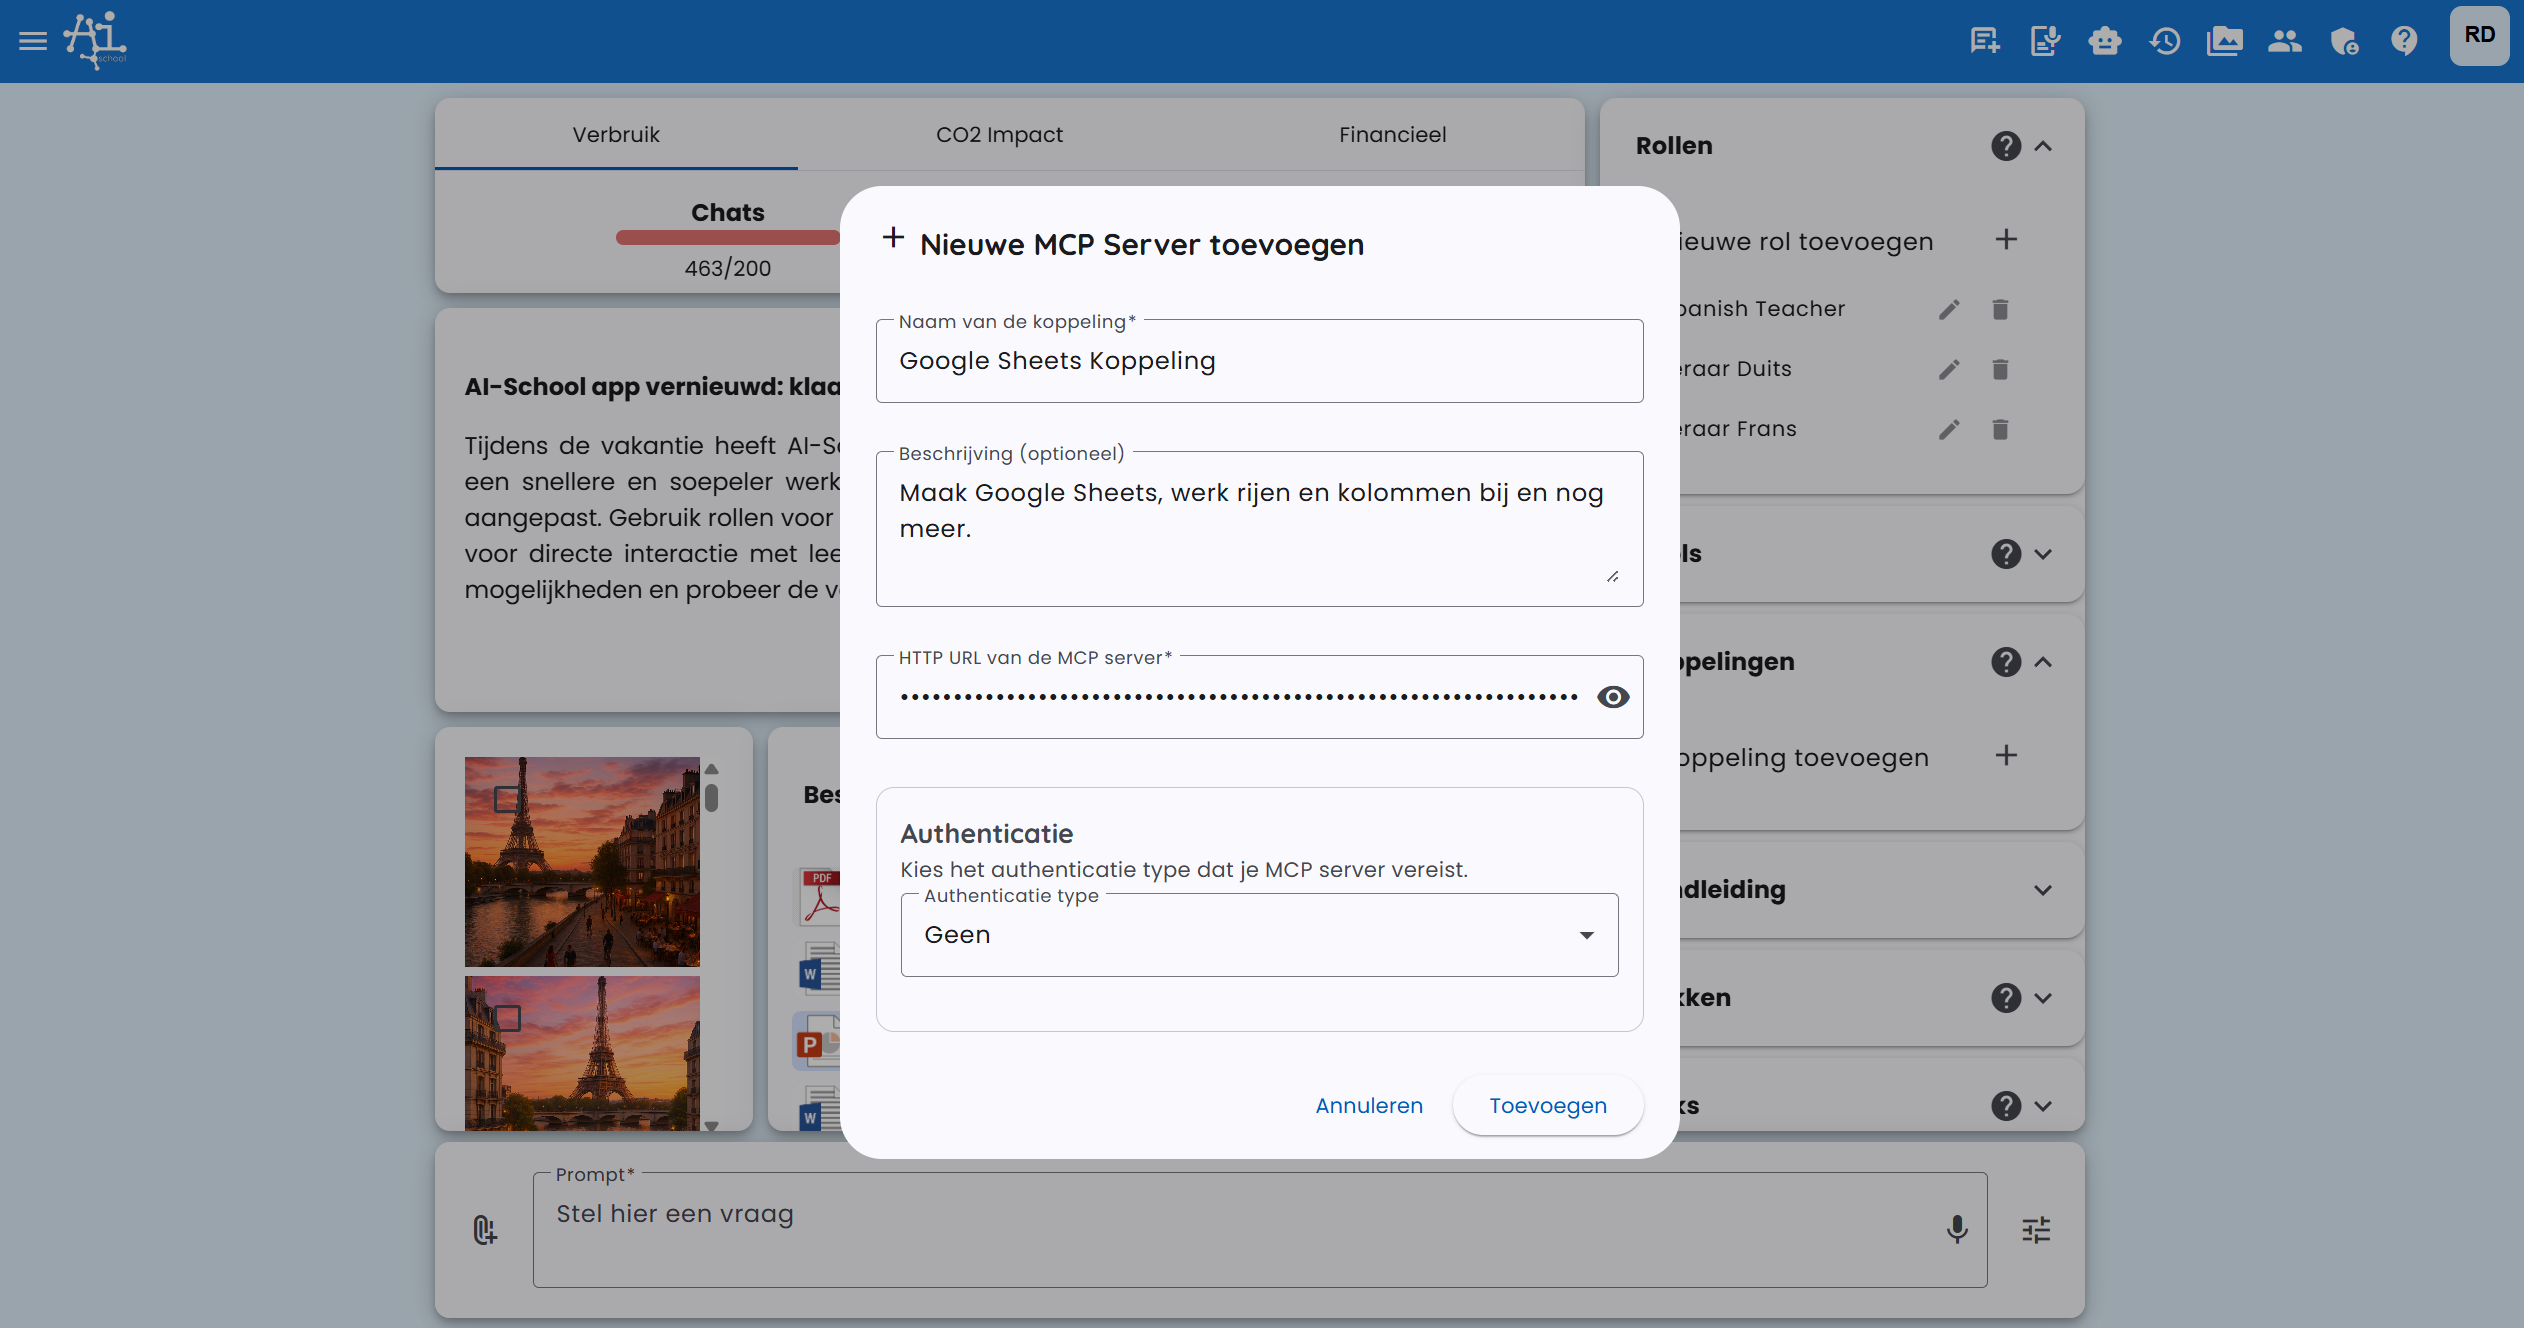
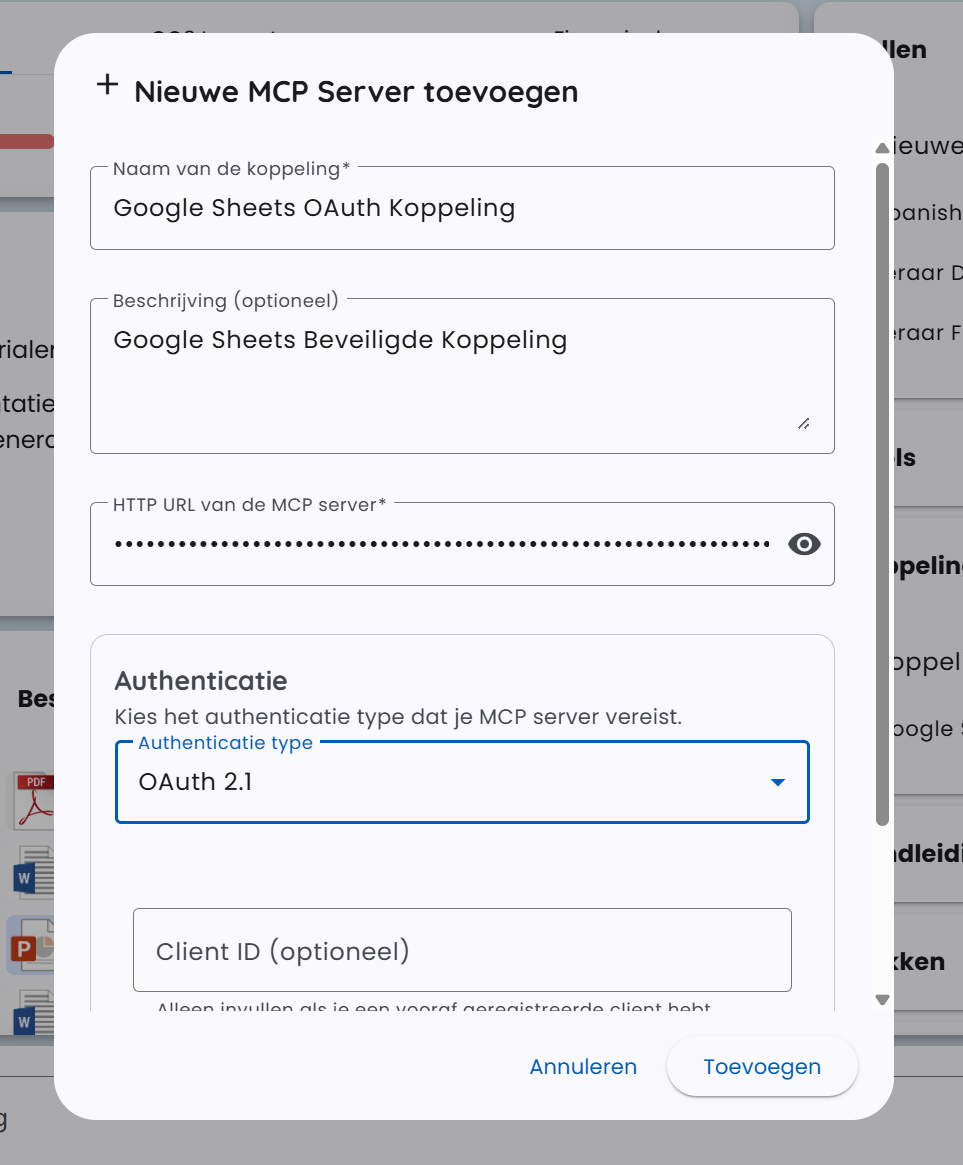
Go to Integrations on the dashboard and click "Add Integration".
-
Give the MCP server a name, optionally a description, and paste the Server-Specific URL
-
Do not set Authentication.
-
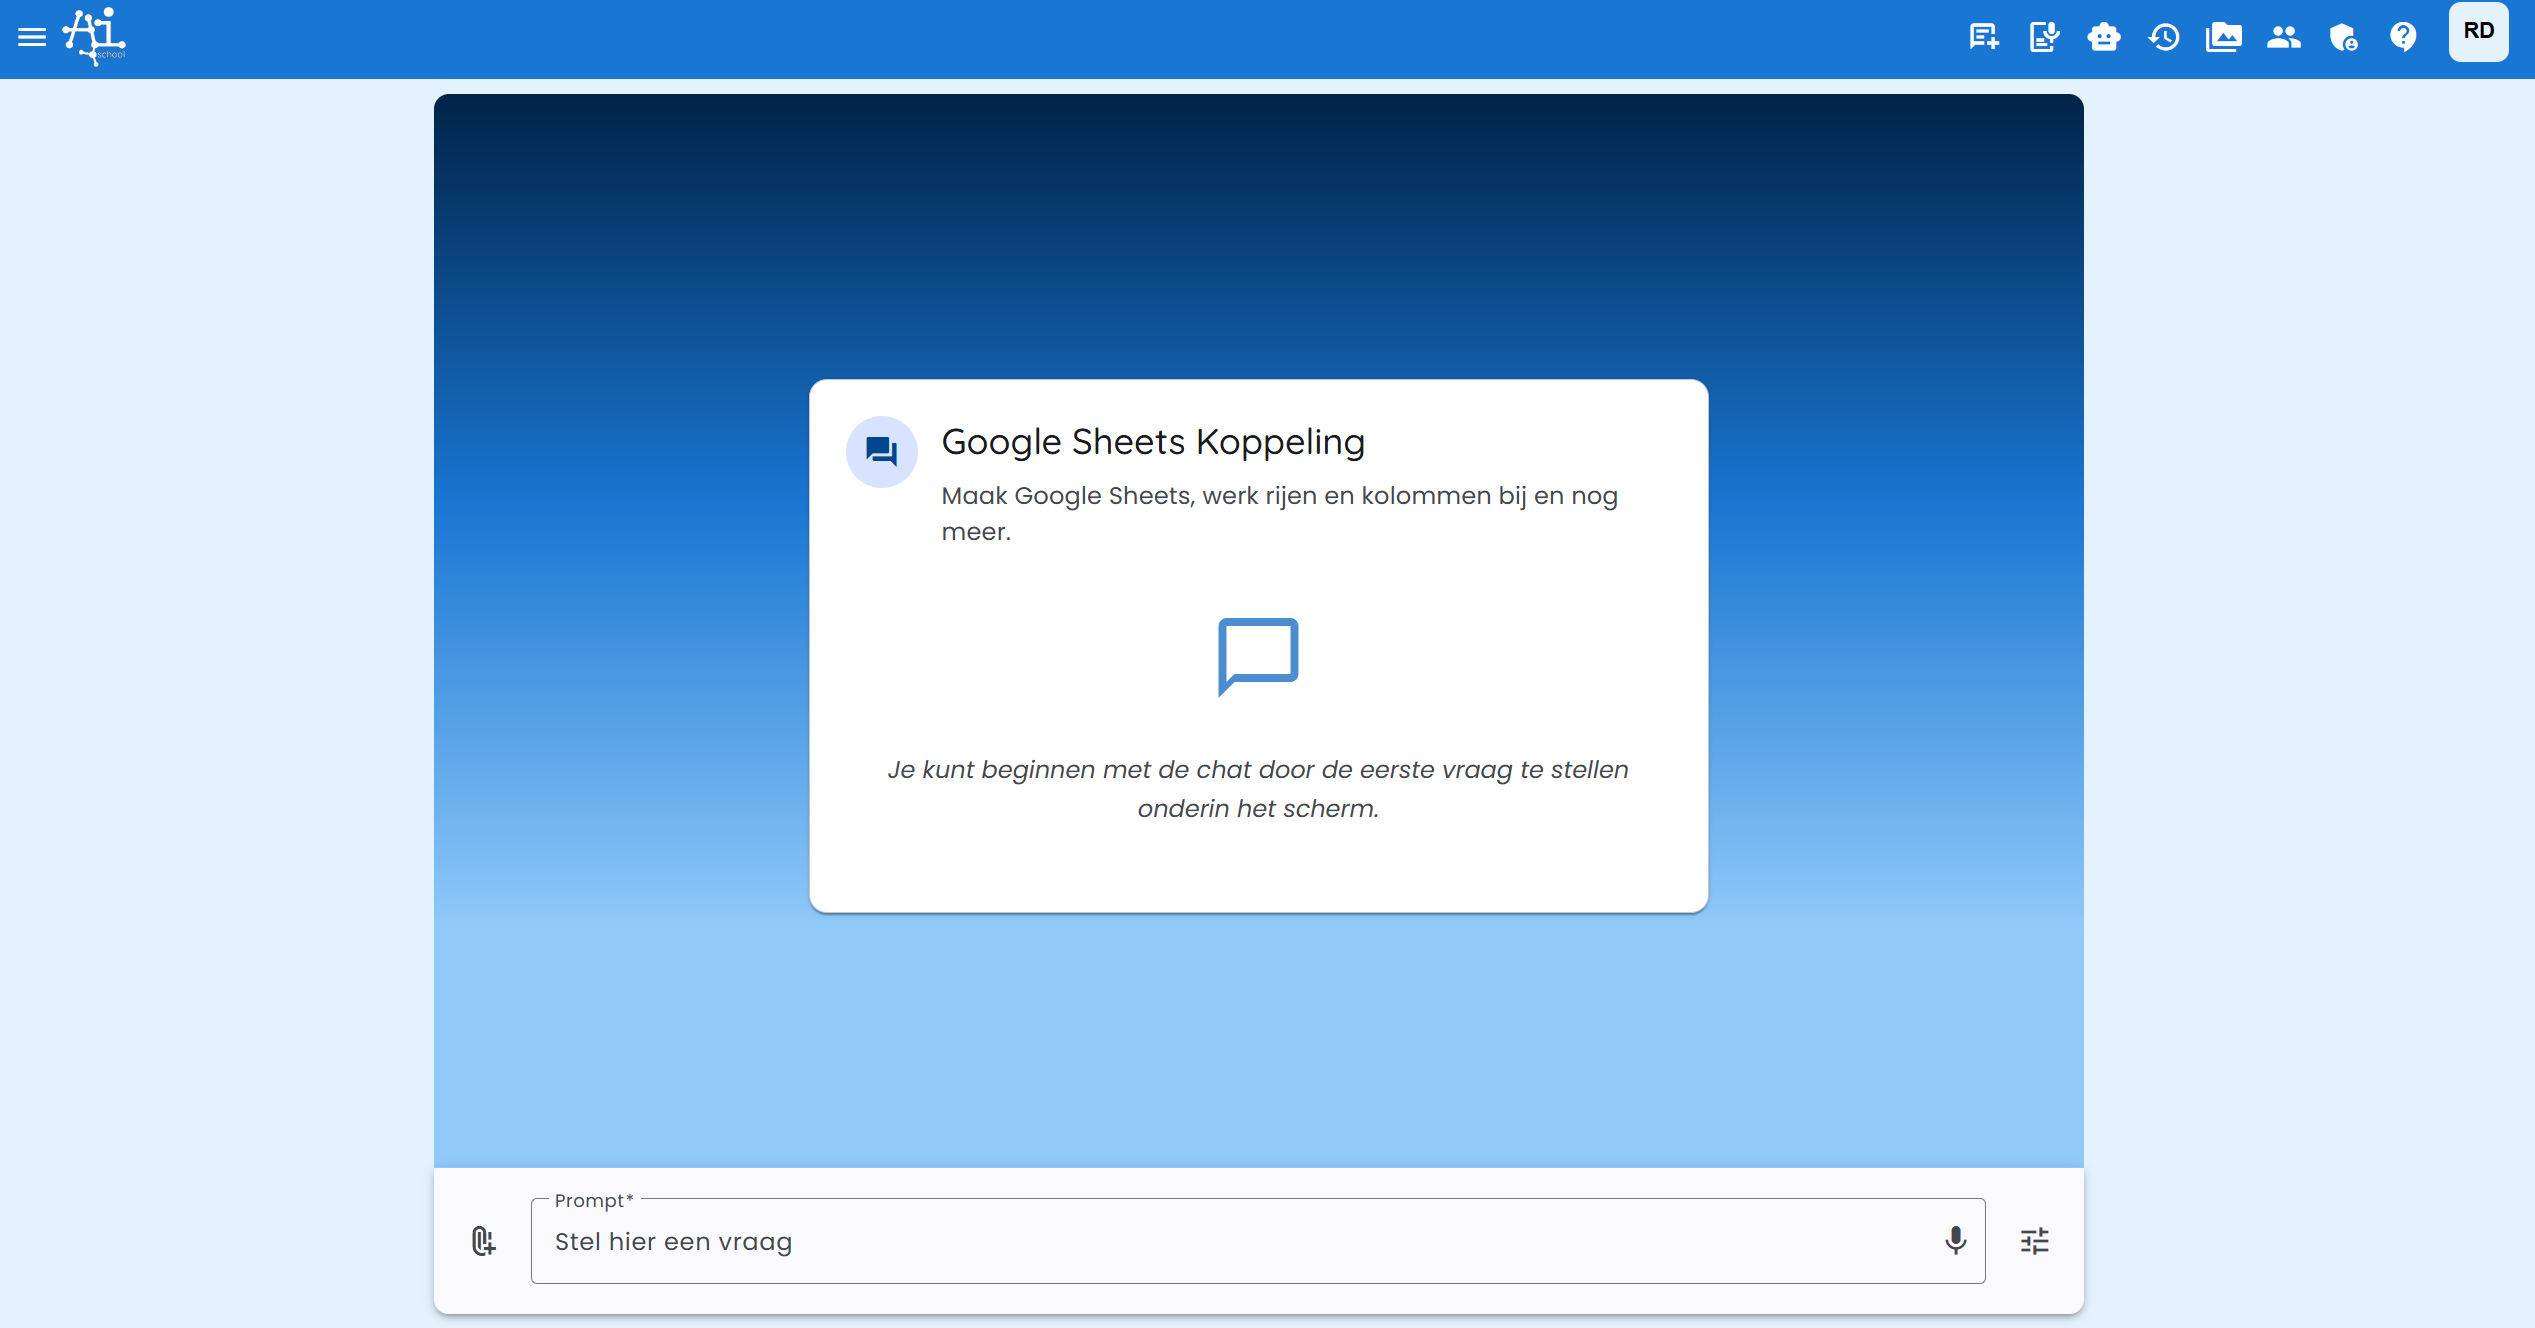
Start the chat by clicking on the integration.
-
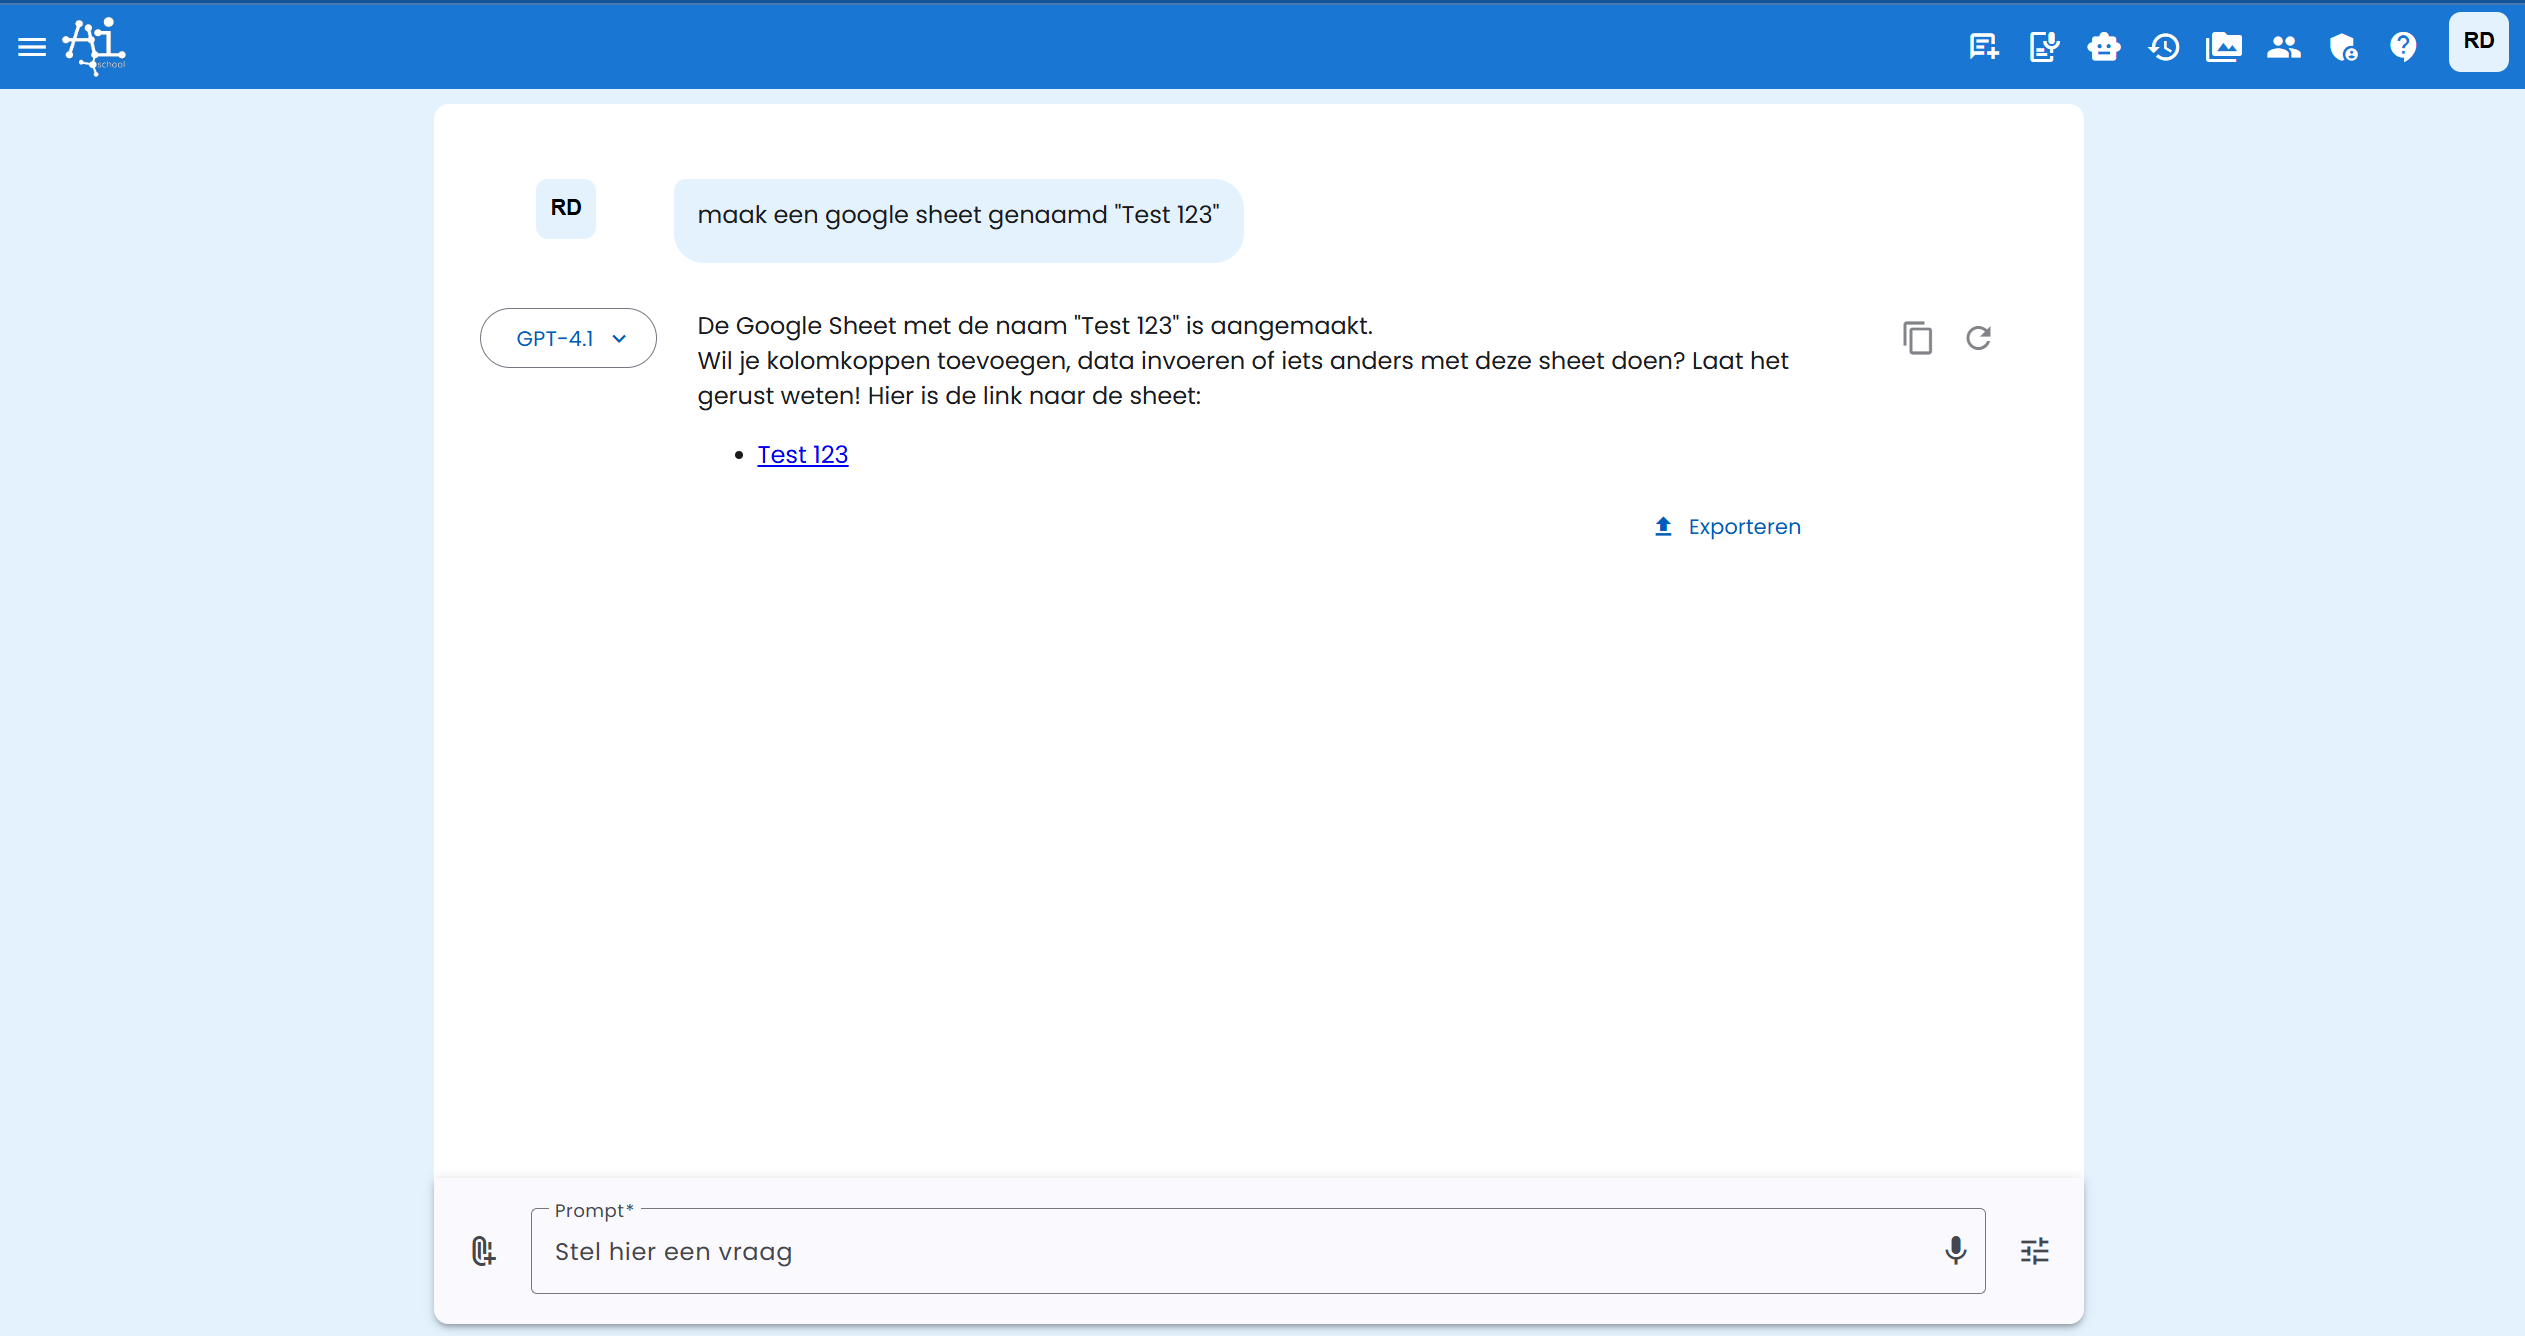
Ask the first question, for example "Create a Google Sheet named Test 123"
-
The MCP tools will be executed.
-
You should see that the tools have been successfully executed.
Step 4b. OAuth Server URL
You will follow the same steps as in step 4a. However, now fill in "OAuth 2.1" for Authentication.
You will be asked to authorize with Zapier (ATTENTION: this may take a while)!
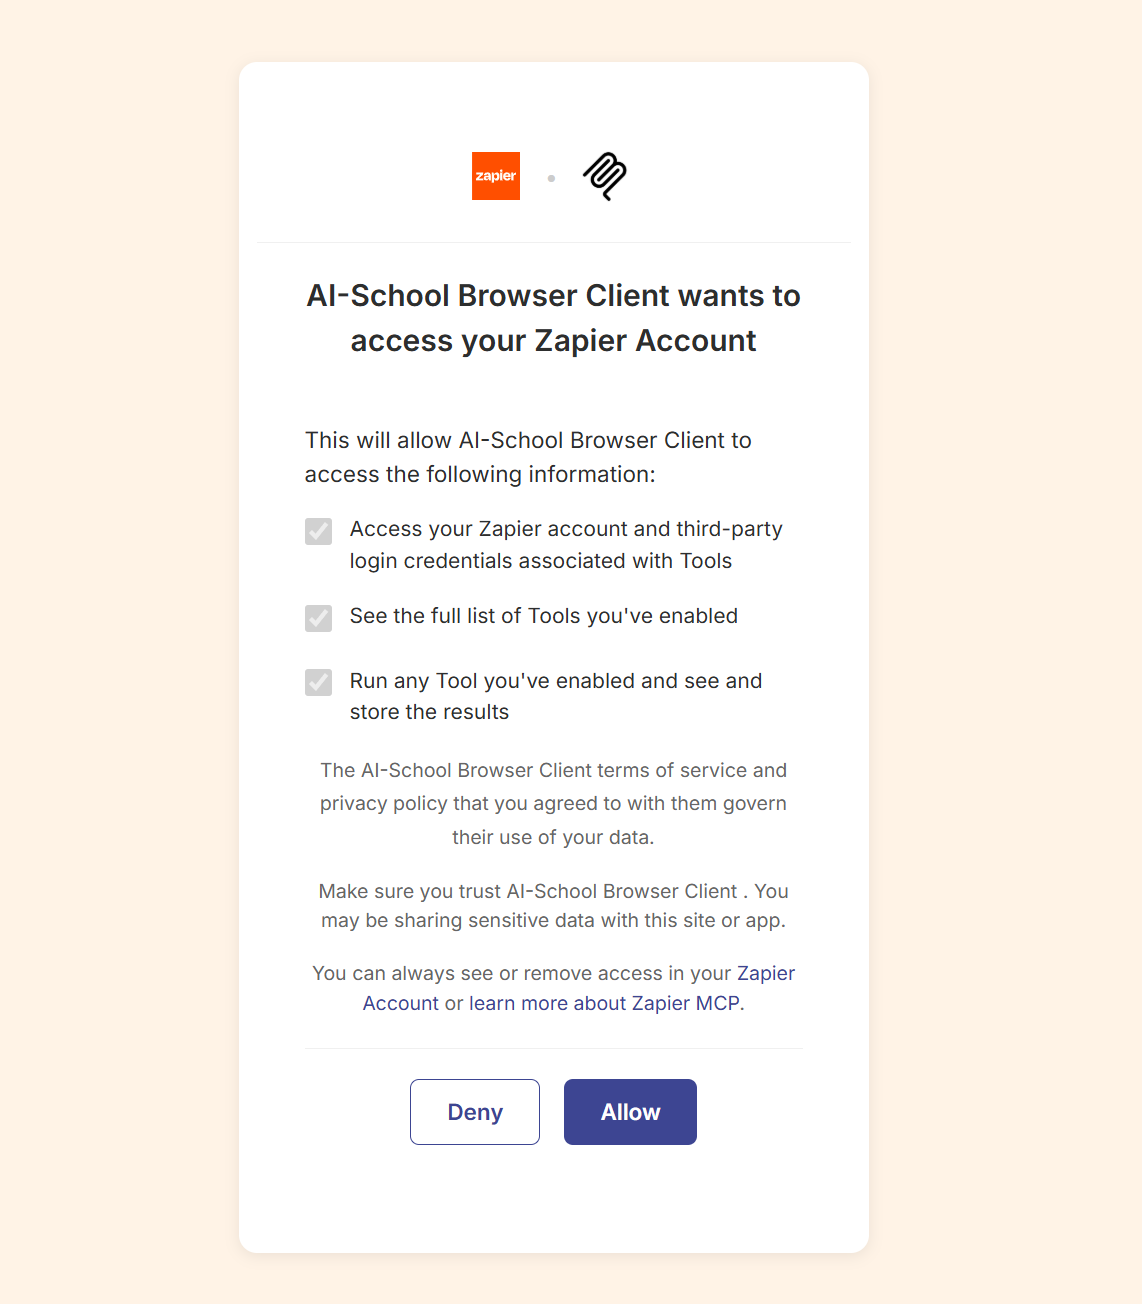
After authentication, you can take the same steps as in 4a.