Lessons
Lessons offer various advantages for teachers compared to general application use by students:
- Setting the initial prompt and system prompt
- Determining which model is used during the lesson
- Easily following chats during the lesson
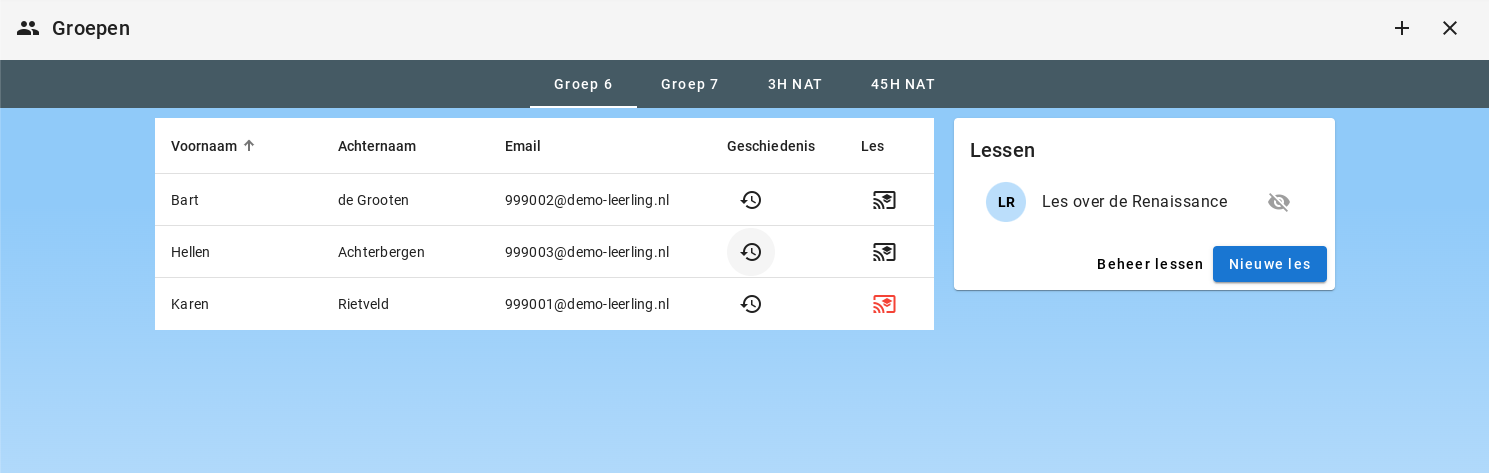
Creating a Lesson
You can create a lesson in the student group overview. You can click on "New Lesson" here. Only the lesson title is mandatory. This allows you to quickly start a lesson, easily following the class during the lesson, even if you don't want to set an initial prompt or system prompt.

Initial Prompt and System Prompt
For students, it is quite challenging to give a good initial prompt when the language model should behave as a Teacherbot. The system prompt can also help to keep the language model operating within certain frameworks.
An Example Teacherbot
Name: Lesson about the Renaissance
Description: An interesting lesson about the Renaissance
Initial Prompt:
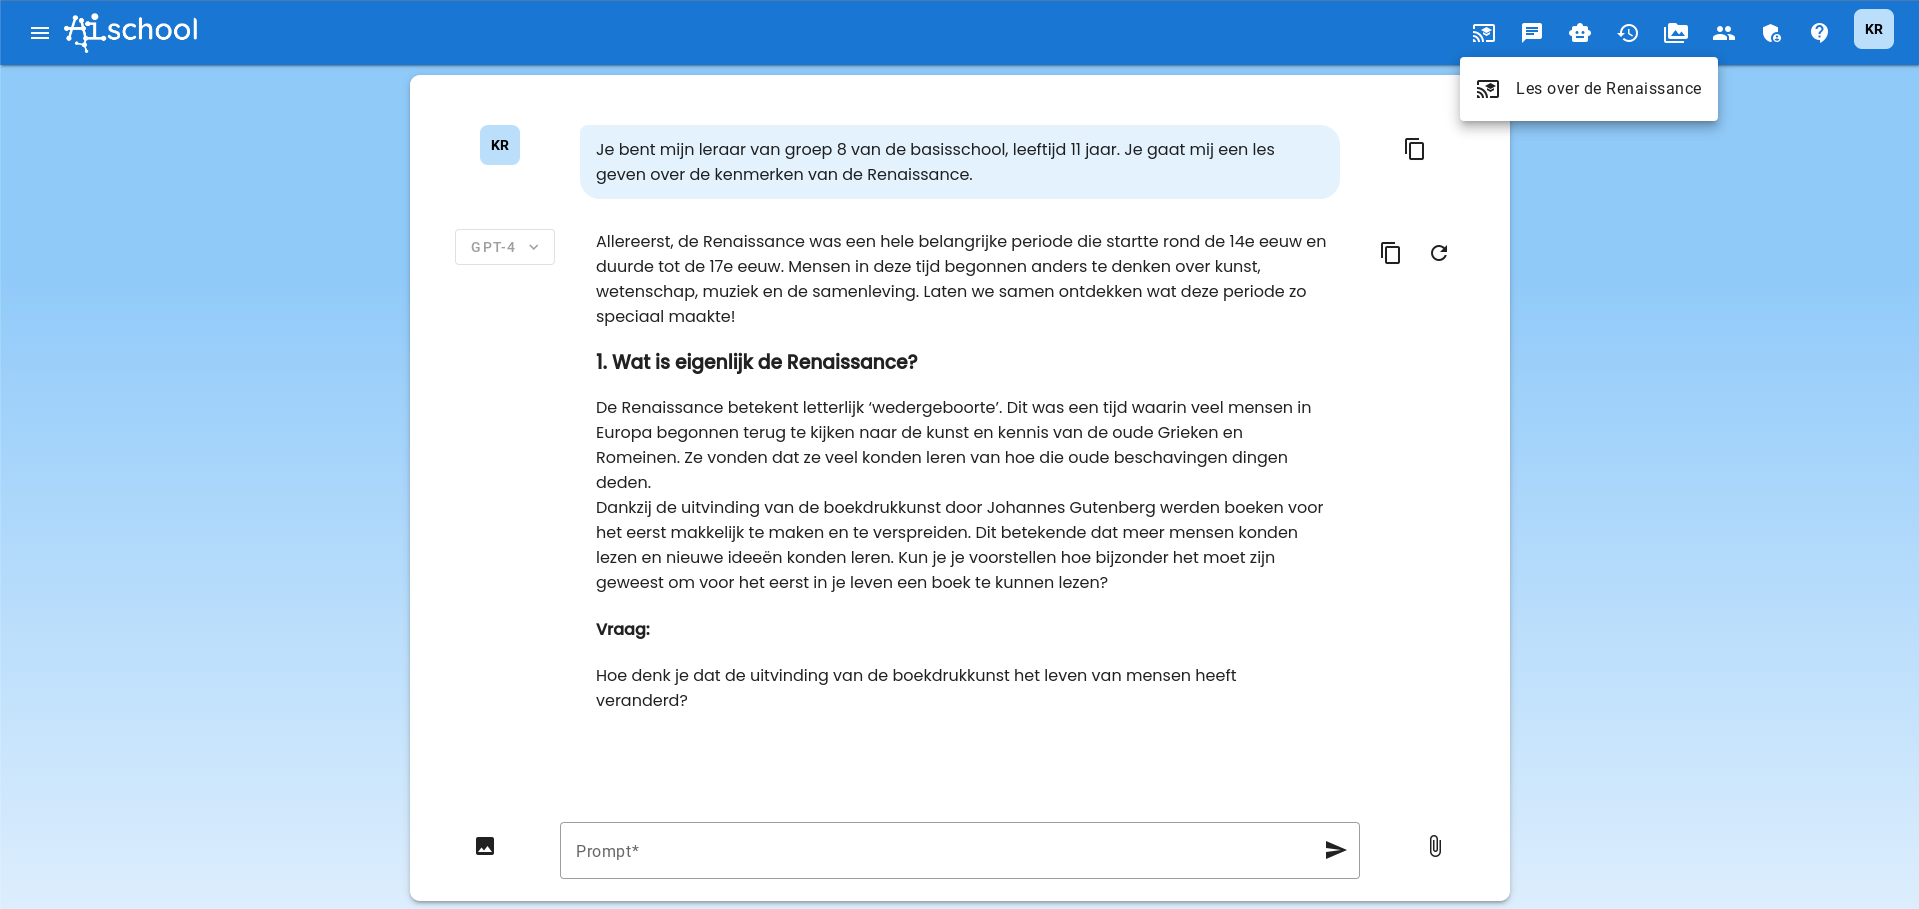
You are my teacher of group 8 in primary school, age 11. You will give me a lesson about the characteristics of the Renaissance.
System Prompt:
You are a teacher of group 8 in primary school. You will give the class a lesson about the characteristics of the Renaissance. Summarize the Renaissance in 7 parts. It is important that you explain everything to me in steps. Also tell things about how the Renaissance period was experienced in the Netherlands. Give the lesson in a way that is easy to understand for students in group 8 of primary school, age 11. Do not use difficult words. Each part of the lesson must contain between 500 and 600 words of information. This is exclusive of your feedback. Ask a question at the end of each part. Ask insightful questions about the material you have taught me. Let me answer. Then give feedback on my answer. Then continue with the next part yourself. Also tell about that in at least 500 and a maximum of 600 words. Then you ask me a question again and let me give the answer. You give feedback on my answer. And then you continue with the next part yourself. Don't say things like: "Let's now move on to the next part", but continue yourself. This is how you continue with the lesson and questions until you have covered all parts. Keep continuing the lesson yourself until all 7 parts have been covered.
Determining Language Model
As a teacher, you can lock in the language model during the lesson. While testing the lesson, you have probably tried different models and chosen the optimal one. This ensures that the lesson you have tested also works for the students.
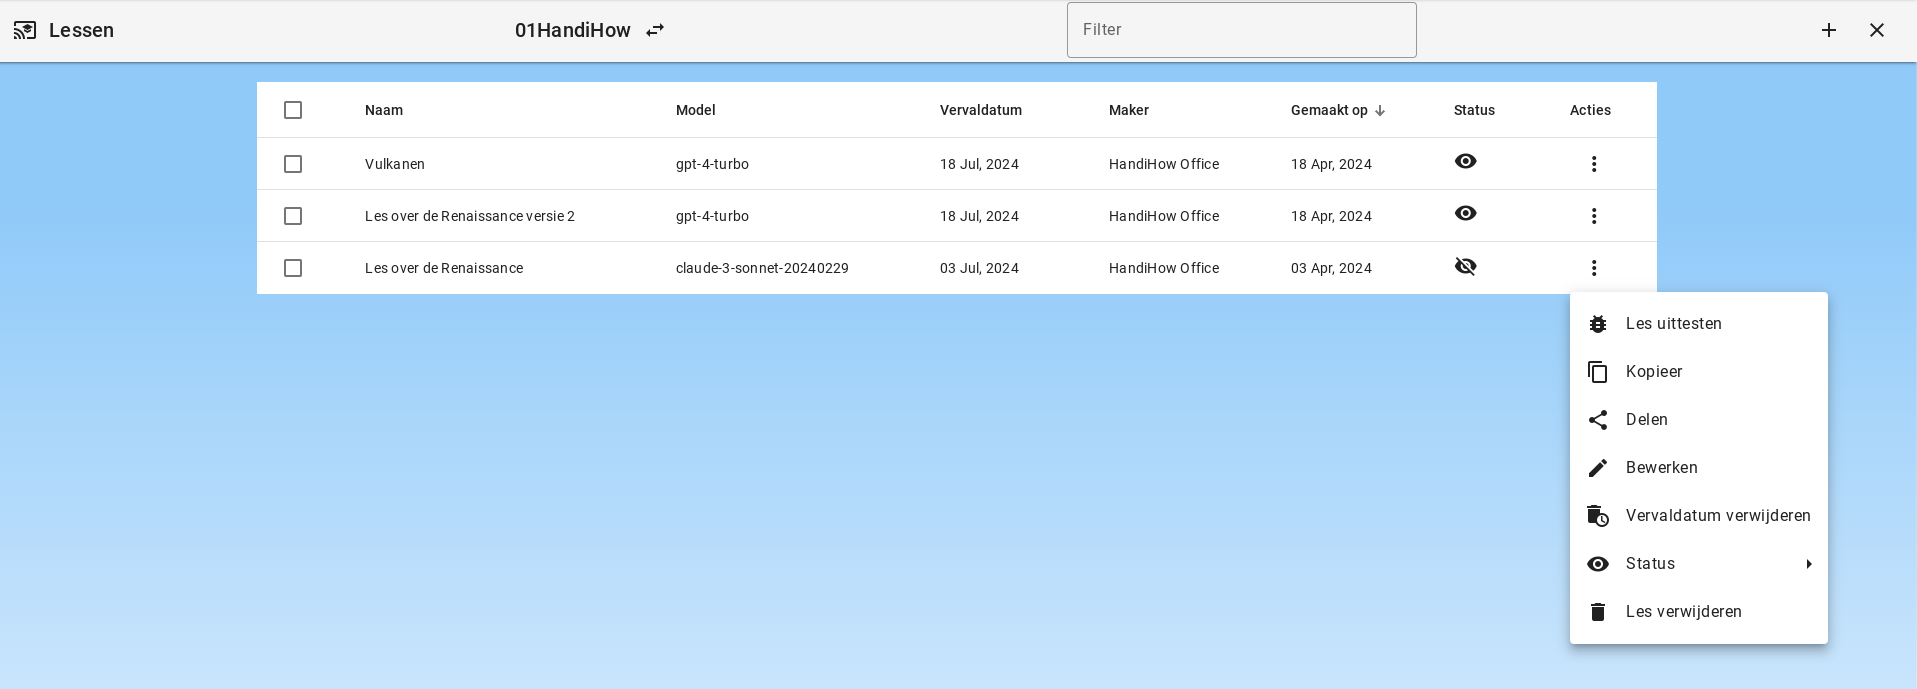
Testing the Lesson
If you want to extensively test the lesson, go to "Manage Lessons". Here you will see not only your own lessons but also lessons from other teachers. If you click on Actions, you will see the option "Test Lesson". This allows you to first try the lesson yourself and make adjustments if necessary.
Sharing the Lesson
Once the lesson is ready, you can share the lesson. This can also be done under Actions.
Students Start the Lesson
Students start the lesson by clicking on the lesson in the menu bar. Only visible lessons are available.
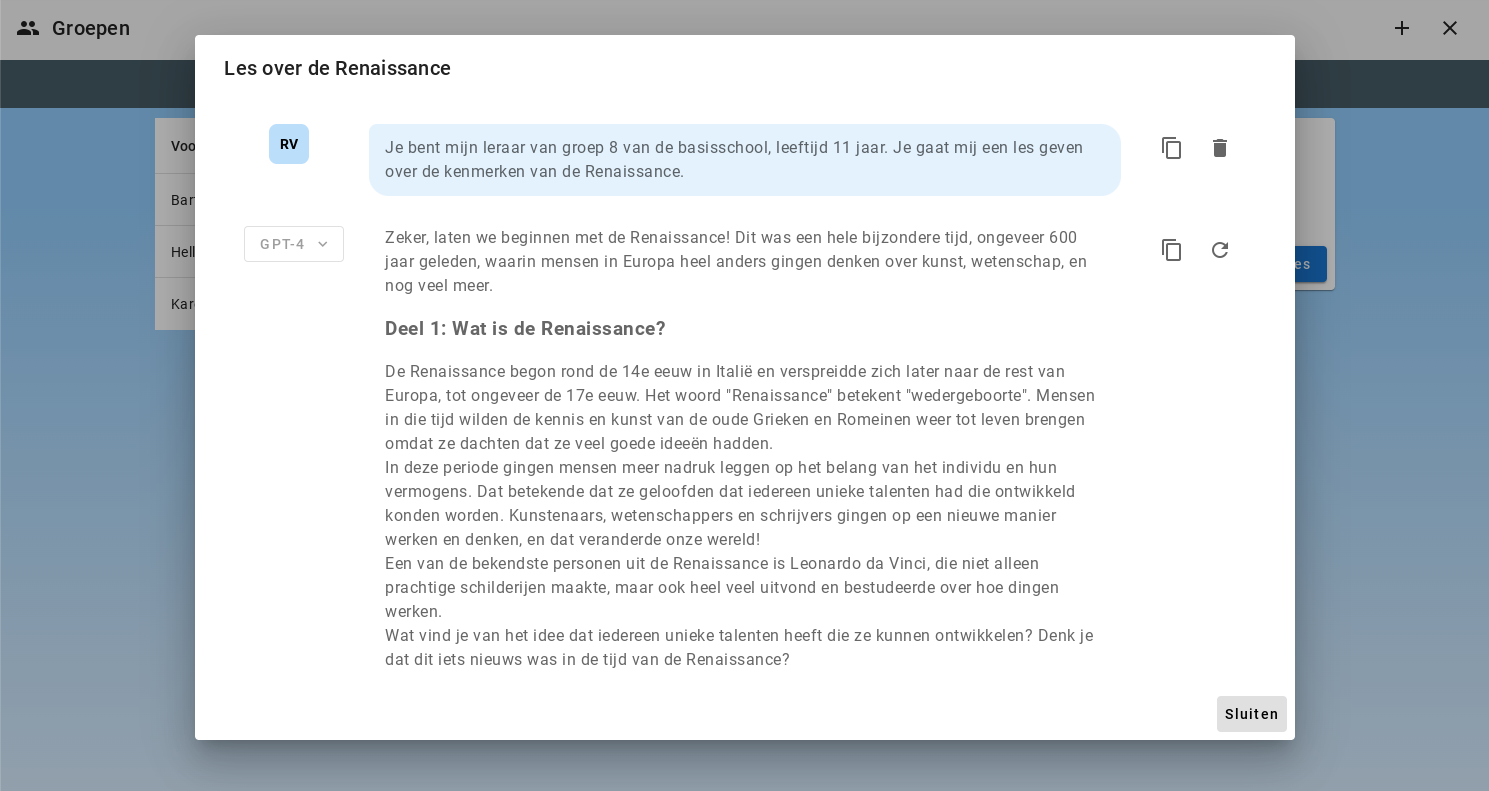
Teacher Follows Students During the Lesson
The teacher sees the lesson icons light up red as soon as the student has started the chat.
The teacher can follow each chat in real-time.
Example of a Lesson: Creating a Physics Model in Python
You have already given various introductory lessons about Python and students can already work reasonably well with it. It is now time to write a model of a falling ball with Python. You want to structure this well and be able to follow it. Therefore, you create a lesson for this.
The most important part is the system prompt. You will try to establish the steps that should be followed and keep the model on course during the lesson.
-
Lesson Name: Falling Ball in Python
-
Description: We will create a physics model of a falling ball in Python.
-
Initial Prompt: First give the instructions to open Google Colab and start a new worksheet. Then start the lesson about creating a model of a falling ball in Python. We will do this lesson step by step and you may not immediately create the entire model. However, you may guide me in each step.
-
System Prompt:
The student first asks for instructions for creating a new worksheet in Google Colab. You provide these instructions. The ultimate goal of this lesson is for the student to create a working model in Python of a falling ball with your help. The ball must fall from a height of 10 meters and follows the laws of gravity. You may not provide too much help and not write large pieces of code at once for the student. Ensure that the student is sufficiently supported but do not write the entire assignment for them.
You follow the step-by-step plan:
-
The student must think about a good way to create a model of a falling ball. It is helpful to take a small step in time each time. The first step is determining the time step. What is useful to do? You do not want to take too many steps because then the model will take too long. And not too few, because then the model will be inaccurate. Explain this well to the student and then help them choose a good time step.
-
The model calculates the speed in each time step (using the formula v = m * g, where g stands for the gravitational constant 9.81 m/s2).
-
The model then calculates the new position by multiplying the speed by the time step.
-
Then the calculation starts again. Help the student create a while loop for this. The while loop must stop when the position goes below 0.
-
Help the student then save the values of speed, position, and time in list variables
-
Help the student then create graphs of speed versus time and position versus time
You must absolutely follow this step-by-step plan and not let the student come up with another way to do this assignment. You will not give an answer to questions that have nothing to do with the step. You try to send the student back to the step-by-step plan. You are helpful and friendly, you provide sufficient explanation but you do not always give the entire answer. The student must figure this out themselves.
You may only handle one step at a time. You may not immediately write a complete model.
Only if the student indicates that it really doesn't work, do you try to help them so they can continue to the next step.
Model: a suitable Claude model